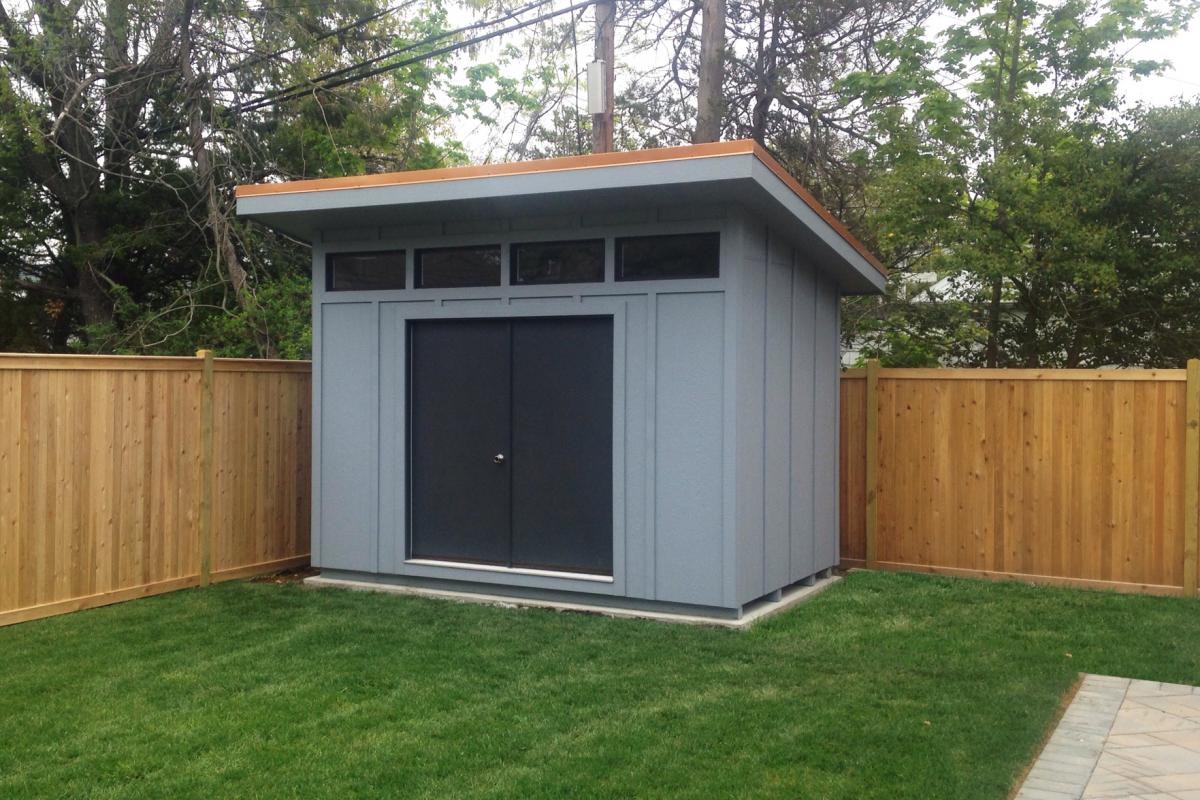
DIY Lean-To Shed: Simple Plans for Budget-Friendly Outdoor Storage
Tired of cluttered garages and overflowing tool sheds? Yearning for a simple, affordable solution to your outdoor storage needs? Building your own lean-to shed is the perfect project! This guide provides detailed, easy-to-follow plans for constructing a practical and attractive lean-to shed, all while keeping your budget in check. Forget expensive pre-fabricated structures; embrace the satisfaction of crafting your own customized storage solution.
Planning Your Lean-To Shed
Before you grab your tools, careful planning is essential. Consider the size and location of your future shed. Measure the available space against your storage needs. A smaller lean-to might suffice for storing gardening tools and equipment, while a larger structure can accommodate lawnmowers, bicycles, and other bulky items. Choose a location that's level, well-drained, and easily accessible. Check local building codes and regulations to ensure your project complies with all requirements. This step saves headaches later and guarantees a legally sound construction.
Choosing Materials
Opt for cost-effective yet durable materials. Pressure-treated lumber provides excellent resistance to rot and insect damage, making it ideal for the frame and base. For the roof, consider using inexpensive plywood sheeting or corrugated metal. Remember to factor in the cost of nails, screws, roofing felt (or similar waterproof membrane), and any desired finishing touches. Compare prices at different suppliers to maximize your savings.
Building the Frame
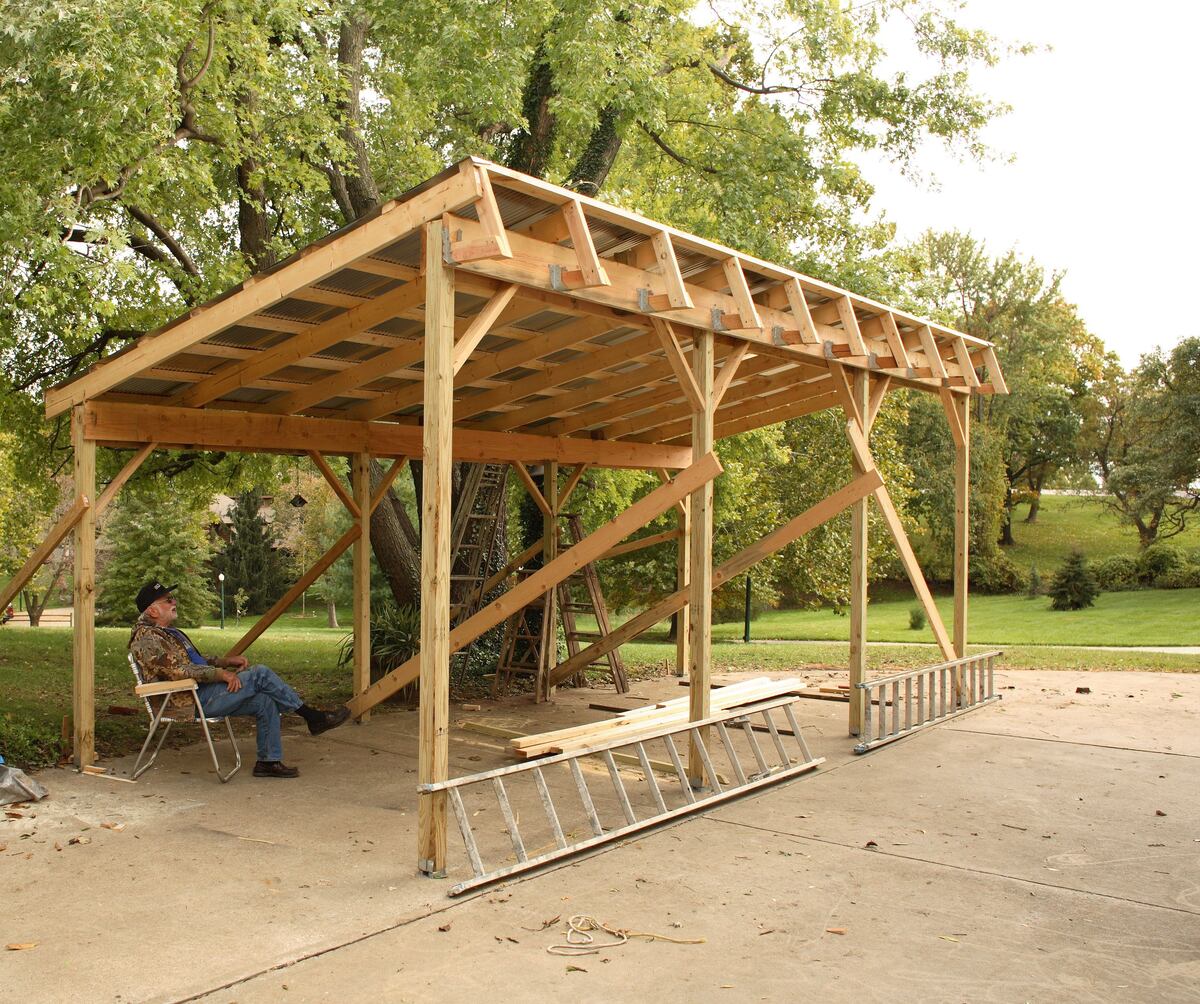
Constructing the frame is the backbone of your lean-to shed. Begin by creating the base frame using pressure-treated lumber. Ensure it's level and square, using a level and measuring tape for precise measurements. Next, erect the supporting posts, attaching them securely to the base frame. These posts will support the roof. Remember to dig post holes to a sufficient depth for stability, particularly in areas prone to frost heave. Consider using concrete for added support. The overall frame structure should be sturdy and square, providing a solid base for the rest of the construction.
Constructing the Roof
The roof is the lean-to’s defining feature. It typically consists of rafters secured to the supporting posts and the back wall (or existing structure). Ensure the rafters are properly spaced and level. Attach the chosen roofing material (plywood or metal) securely to the rafters. Finally, apply roofing felt or a comparable waterproof membrane under the roofing material to prevent leaks. Remember to allow for proper overhang to protect the sides of the structure from the elements. A correctly built roof provides essential weather protection.
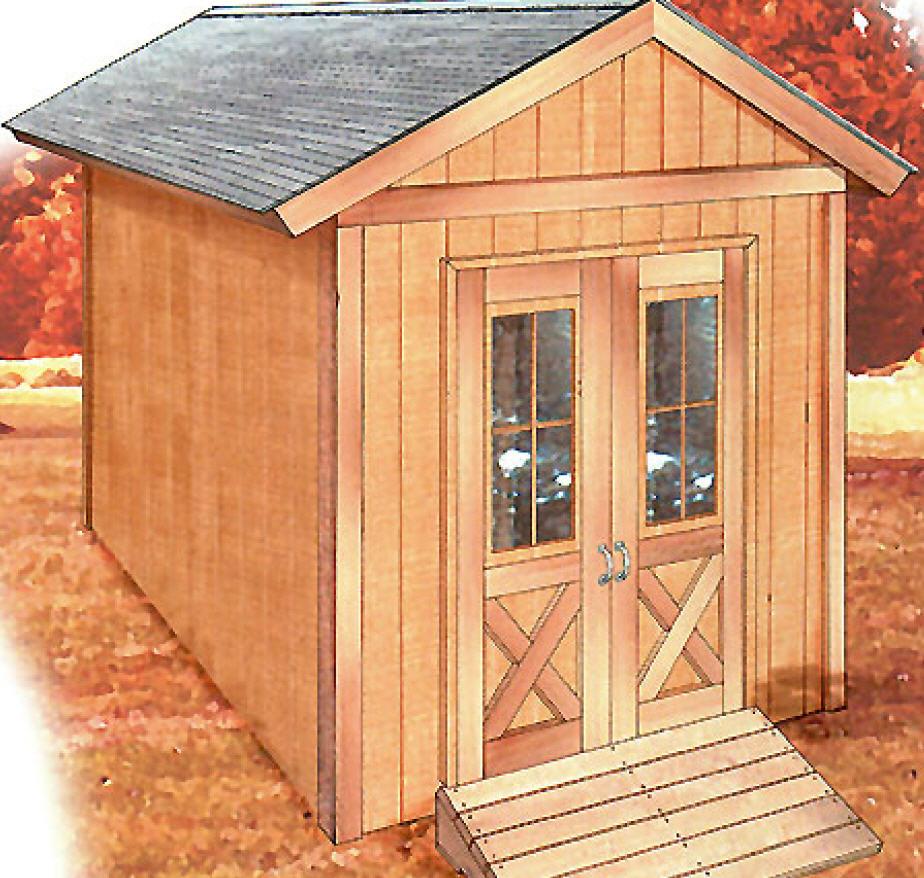
Finishing Touches
Once the frame and roof are complete, you can add finishing touches to personalize your lean-to. Consider adding a simple door for easy access. You might choose to paint the shed to match the existing structures or add a decorative trim for an enhanced look. Remember to reinforce any areas that might experience extra wear and tear. These final steps significantly improve the shed's aesthetics and longevity.
Essential Tools and Materials Checklist
- Pressure-treated lumber
- Plywood or corrugated metal roofing
- Roofing felt or waterproof membrane
- Nails and screws
- Post hole digger
- Level
- Measuring tape
- Saw
- Hammer or drill
- Safety glasses and work gloves
Building your own lean-to shed is a rewarding experience that combines practicality with significant cost savings. By following these simple plans and taking your time, you'll create a durable and functional outdoor storage solution that perfectly fits your needs and budget.