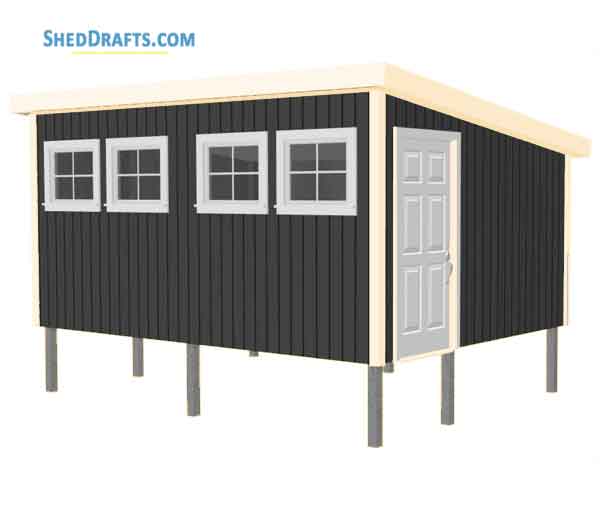
Building a Lean-To Shed: The Budget-Friendly DIY Guide
Hey there, fellow DIY enthusiasts! So you're thinking about building a lean-to shed, huh? That’s awesome! A lean-to is a fantastic way to add extra storage or workspace to your property without breaking the bank or needing a PhD in carpentry. This guide is all about making it happen with minimal tools and materials â€" think of it as the "bare bones" approach to shed construction. Let's get started!Planning Your Lean-To Shed
Before you even think about grabbing a hammer, we need a plan. This doesn't have to be some architectural masterpiece, but a little forethought goes a long way.Choosing Your Location and Size
Where are you going to put this thing? Consider proximity to your house (for easy access), existing structures (like a fence or wall â€" this will be your lean-to's "support"), and sunlight. You'll also want to check local building codes â€" some areas have regulations regarding shed size and placement. Think realistically about how much space you actually need. A small lean-to can be incredibly useful, and overbuilding can be a costly mistake.
Gathering Your Materials
The beauty of a minimalist lean-to is that you don't need a mountain of materials. Here's a basic list:
- Pressure-treated lumber: This is crucial for the longevity of your shed, especially if you live in a climate with lots of rain or snow. You'll need lumber for the frame, roof supports, and roofing. The exact amount depends on your shed's dimensions, but aim for a solid, sturdy build.
- Roofing material: Consider inexpensive options like tarps (for a super-budget build) or corrugated metal sheets (more durable and longer-lasting). Again, calculate the amount based on your roof's size.
- Fasteners: Galvanized nails or screws are your friends here. You'll need plenty to secure everything together.
- Optional additions: If you're feeling ambitious, you might want to consider adding a simple door (with hinges and a latch), some plywood for siding (to give it a more finished look), or even some simple shelves inside.
Essential (and Minimal) Tools
You don't need a full workshop for this project! Here's what you should have:
- Measuring tape: Accuracy is key!
- Level: Essential for ensuring your structure is, well, level.
- Hammer or drill/driver: A hammer works fine, but a drill makes it a lot quicker.
- Saw (hand saw or circular saw): To cut your lumber to size. A hand saw is slower, but perfectly doable for a small project.
- Shovel (optional): If you're setting the posts in the ground.
Building Your Lean-To Shed: Step-by-Step
Okay, let's get our hands dirty! Remember, adapt these steps to your specific plan and materials.
Step 1: Preparing the Base
If your lean-to is against an existing structure, this step is easier. You'll just need to measure and mark the area where your frame will go. If you're building on the ground, consider a simple gravel base to help with drainage. If you are anchoring to the ground, dig small holes for your support posts.
Step 2: Building the Frame
This is where your pressure-treated lumber comes in. Cut the lumber to the lengths you need for the frame's base and supports. Assemble the frame, making sure everything is square and level. Use your fasteners to secure the pieces together. For a simple lean-to, you can create a basic rectangular frame. Remember to consider the height of your roof.
Step 3: Attaching the Roof Supports
Now you need to build the angled supports that will hold your roofing material. These are usually rafters, and they should be spaced appropriately depending on the type of roofing material you're using. Attach them securely to the top of your frame.
Step 4: Installing the Roofing Material
This step depends entirely on your chosen roofing material. For tarps, you'll simply drape them over the rafters and secure them with rope, weights, or more fasteners. For corrugated metal, you'll need to overlap the sheets and attach them to the rafters using appropriate fasteners. Remember to ensure good overlap for waterproofing.
Step 5: Finishing Touches (Optional)
If you're adding a door or siding, now is the time to do it. This is where you can add some personal touches to your shed. Consider painting or staining the wood to protect it from the elements and add some curb appeal.
Tips for Success
- Work with a friend: Having an extra set of hands makes the job easier and safer.
- Take your time: Rushing can lead to mistakes. Measure twice, cut once!
- Check your work frequently: Make sure everything is level and square throughout the process.
- Consider weather conditions: Don't work in heavy rain or wind.
- Have fun! Building something yourself is rewarding. Enjoy the process.
Frequently Asked Questions (FAQs)
Here are some common questions I get about building lean-to sheds:
Q: How much does it cost to build a lean-to shed?
A: The cost varies greatly depending on the size and materials used. A very basic lean-to using recycled materials could cost under $100, while a more substantial structure with better materials could cost a few hundred dollars.
Q: Do I need a building permit?
A: This depends entirely on your local building codes. It's best to check with your local authorities before starting your project to avoid potential fines.
Q: How long does it take to build a lean-to shed?
A: Depending on the size and your experience, it could take anywhere from a few hours to a couple of days.
Q: What type of wood is best?
A: Pressure-treated lumber is highly recommended for its resistance to rot and decay. Cedar or redwood are also good choices but are more expensive.
Q: Can I build a lean-to shed on uneven ground?
A: It's best to level the ground as much as possible before building. You can use gravel or other leveling materials to create a stable base.
Well, there you have it! A comprehensive guide to building your very own lean-to shed. Remember, this is a basic guide, and you might need to adjust things based on your specific needs and situation. Don't be afraid to get creative and personalize your shed to your liking! Happy building!

0 comments:
Post a Comment
Note: Only a member of this blog may post a comment.